![]()
*Available in the Premium Version
Choose a CheckNote Template or Create your own:
- From the main menu tap “Create a New Map” or “Map Existing Group”.
- Select the existing group, or if this is your first group, add a group name, choose a layout, and tap “Continue”. (Hint, the yellow classroom layout will allow you to freely place participants anywhere on the screen.)
- Tap “Done” to enter the mapping screen.
- BEFORE you begin mapping, tap the blue settings icon in the upper right corner

- Tap “CheckNote Template” and the list will appear.
- Tap “View/Edit” to view the characteristics of each template or to edit your desired template.
- Once you’ve selected the template you want to use, tap “Back” and you will be prompted with the following:
- “Would you like this as your default CheckNote template? YES/NO”
- Tap “Yes” and that CheckNote template will be included with all future groups until you edit the existing template or select a new template.
- Tap “Close” and you are ready to start your class or meeting!
To learn more about how to edit or create your own template, click <HERE>
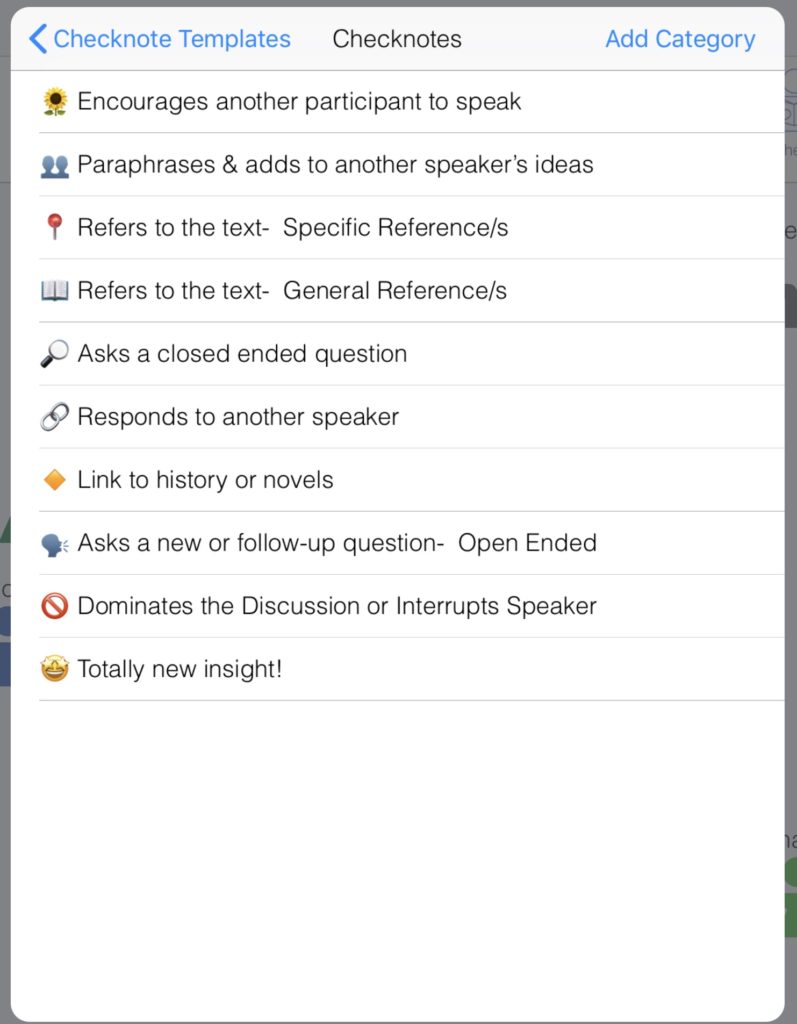
Sample CheckNote Template (Socratic Seminar):
Category:
CheckNotes
 0
0
 0
0